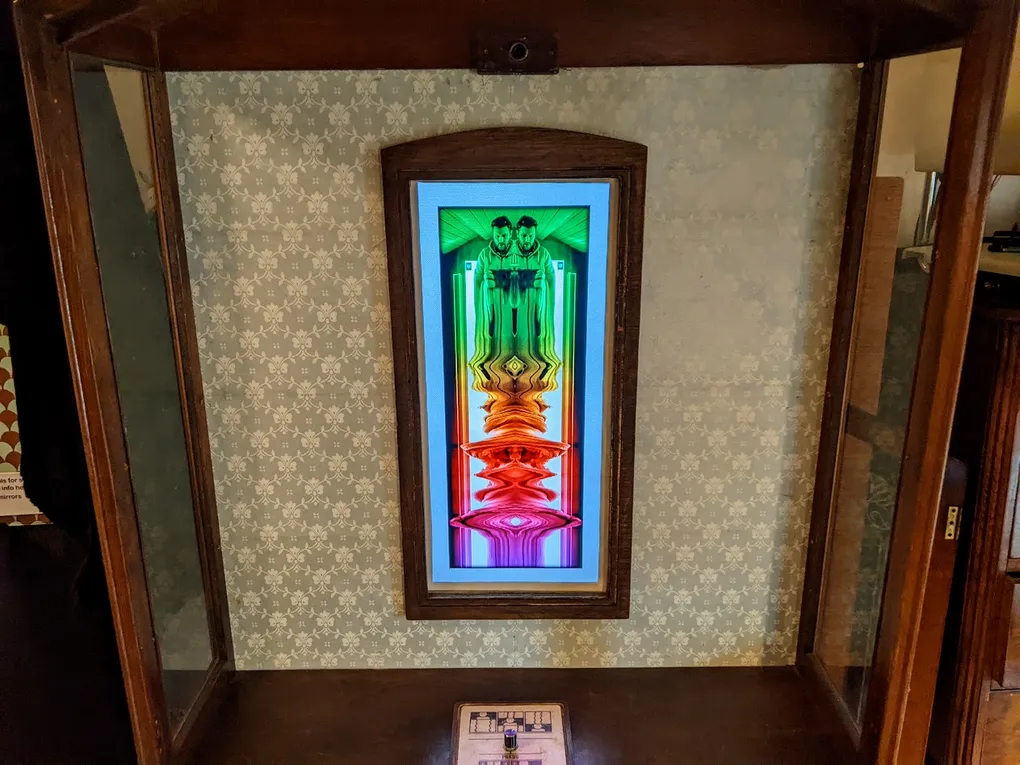
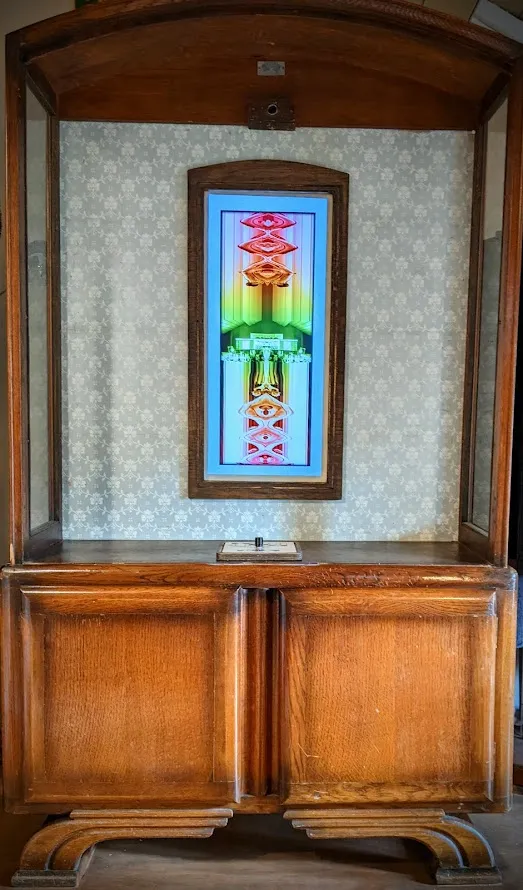
The Curious Cabinet
An Interactive digital exhibit originally developed for the Florence Arts Centre’s Fruitful exhibition (Feb-Mar 2022) with an effect I refer to as a Momentograph.
It has since made appearances in:
- Duke Street People’s Museum of Barrow (Mar 2023)
- Windermere Science Festival (May 2023)
- Digital Reflections at Signal (July 2023)
- Art Gene’s Place - Re:discover Barrow Exhibition (Feb 2024)
The Momentograph - Create continuous artworks just by moving
I have always been interested in mirrors, how they were once revered, feared, loved and despised. And their roles in magic, trickery, superstition, divination alongside their use in the arts, mythology, religion and cinema.
I like to reimagine mirrors using hidden technology to visualize their other worldliness. In this case capturing moments as visual tracks, as if souls truly do leave behind traces in the mirror’s reflection.
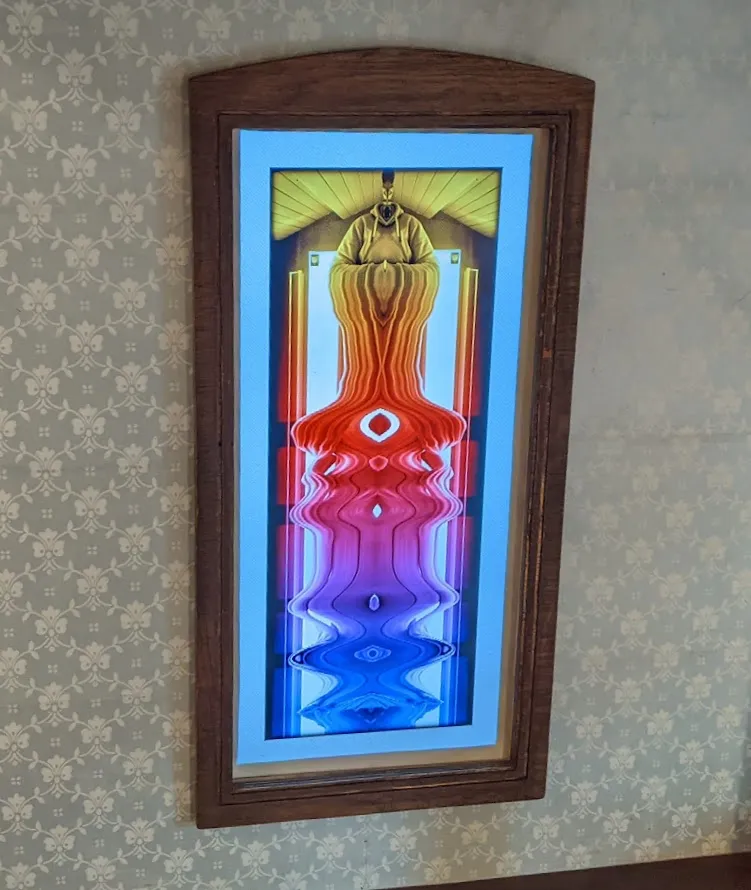
Standing before the cabinet your reflected image is woven into chorded patterns. As you move and play you’ll create twisted columns, floating islands of colour, long twisted spaghetti fingers or psychedelic Rorschach tests.
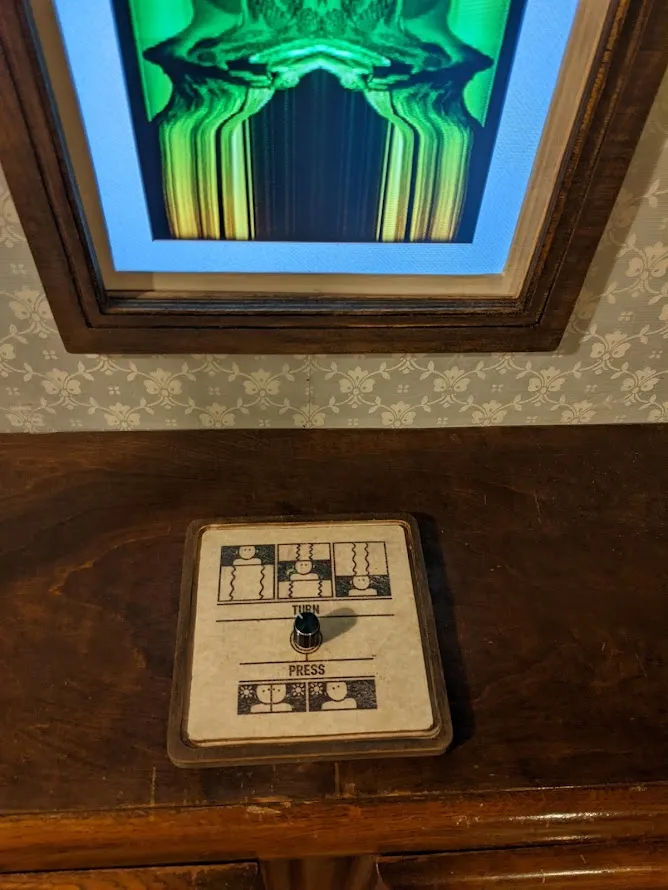
You can control your creations further with a dial to select different alignment options and a button to toggle symmetry.
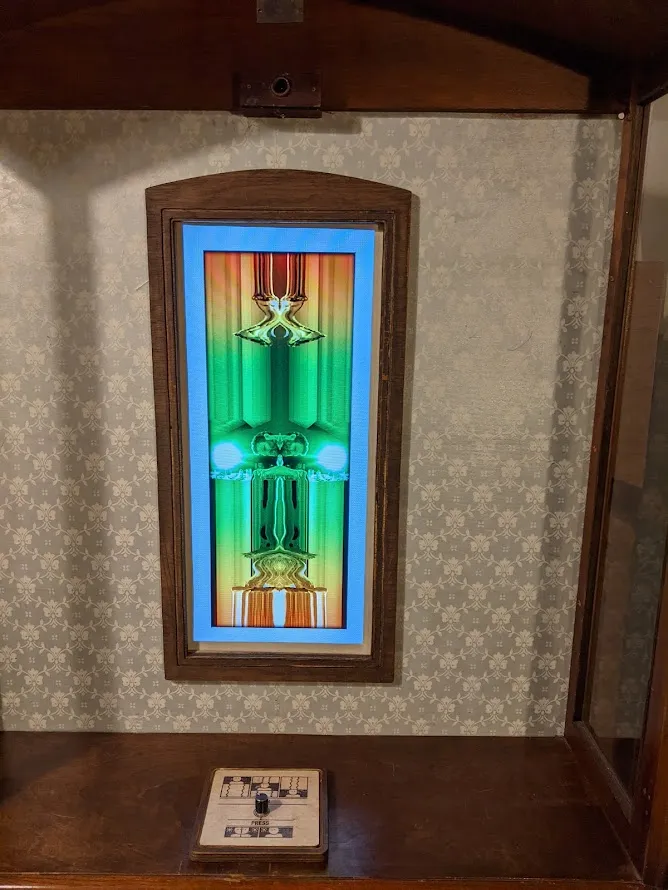
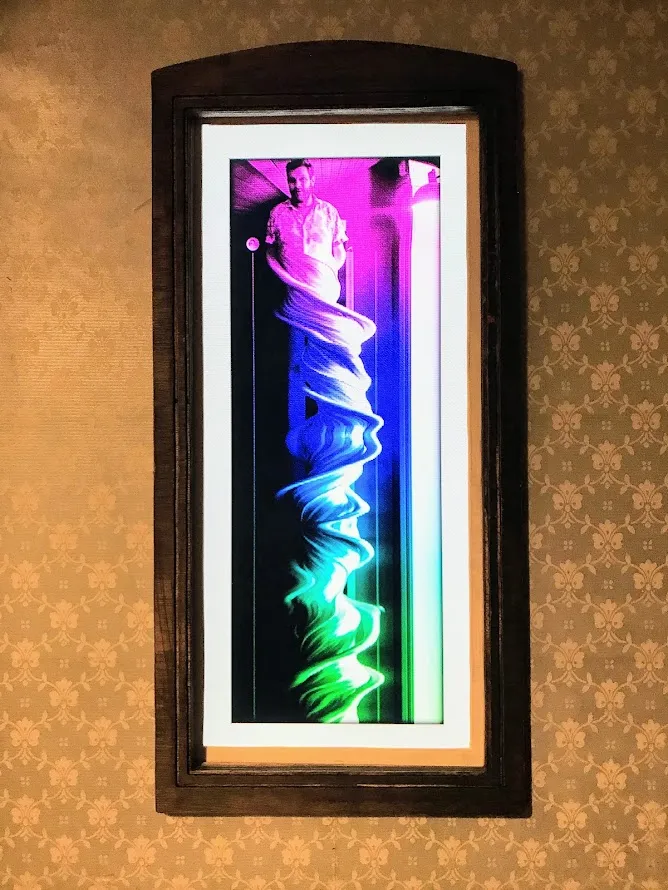
The emergent abstract images your movements create become mesmerising, moving you (literally 😊) into a flow state where your reflection and time become your brushes.
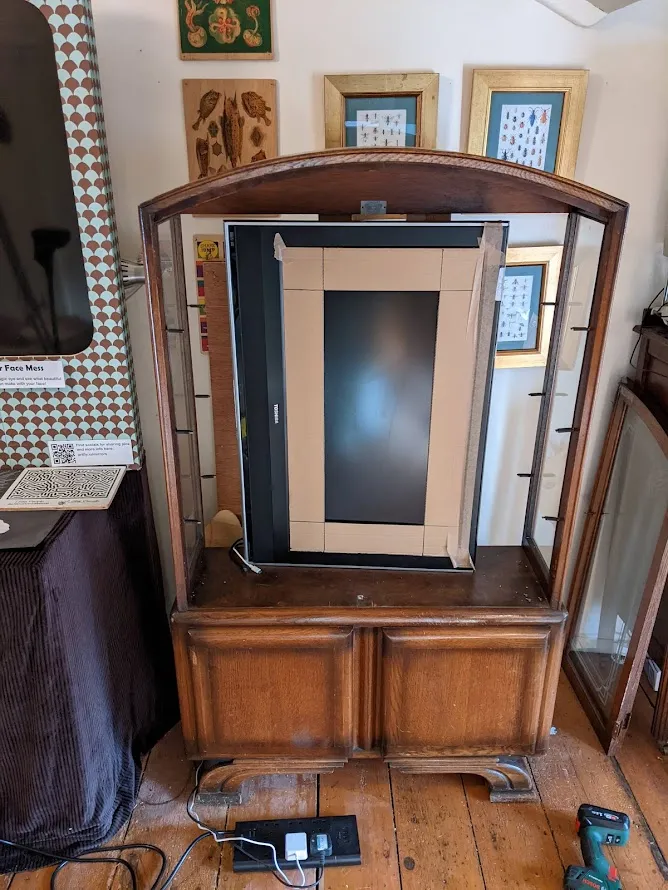
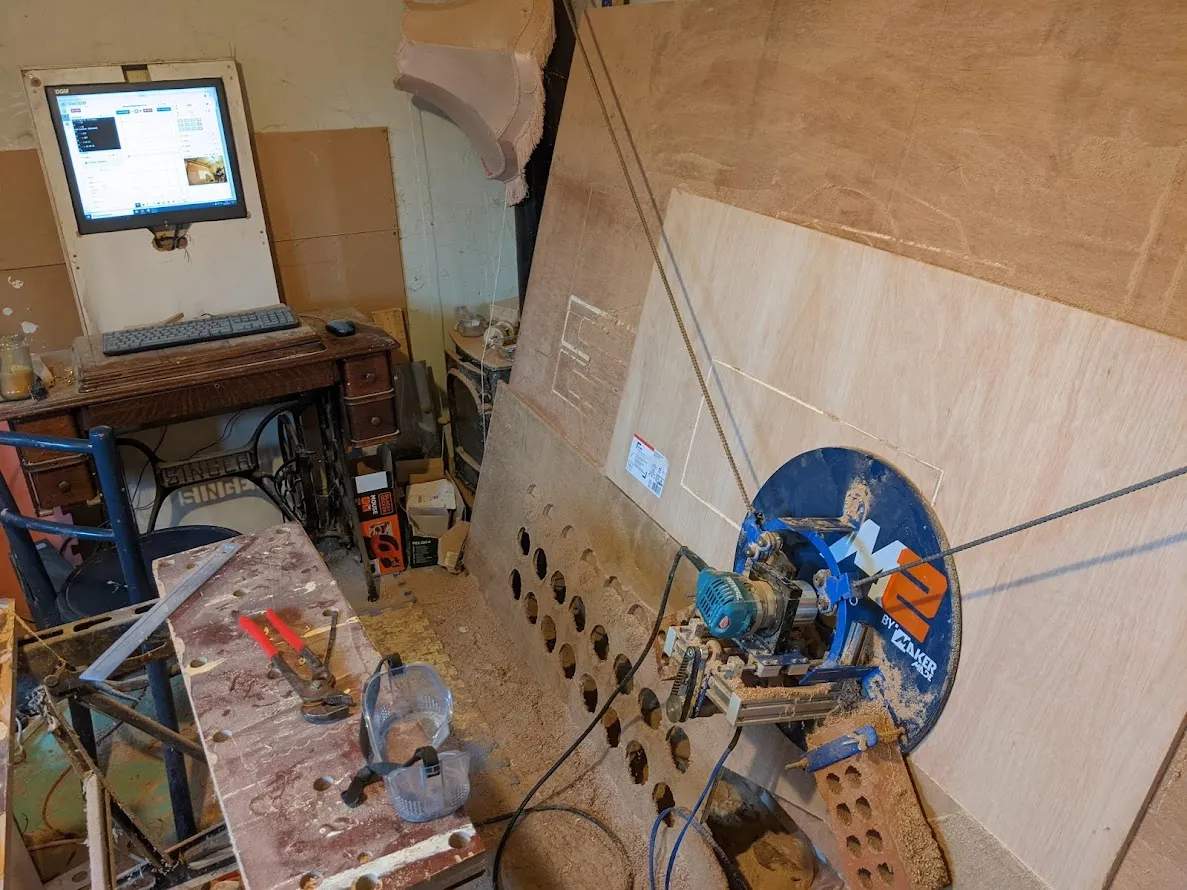
Behind the Scenes
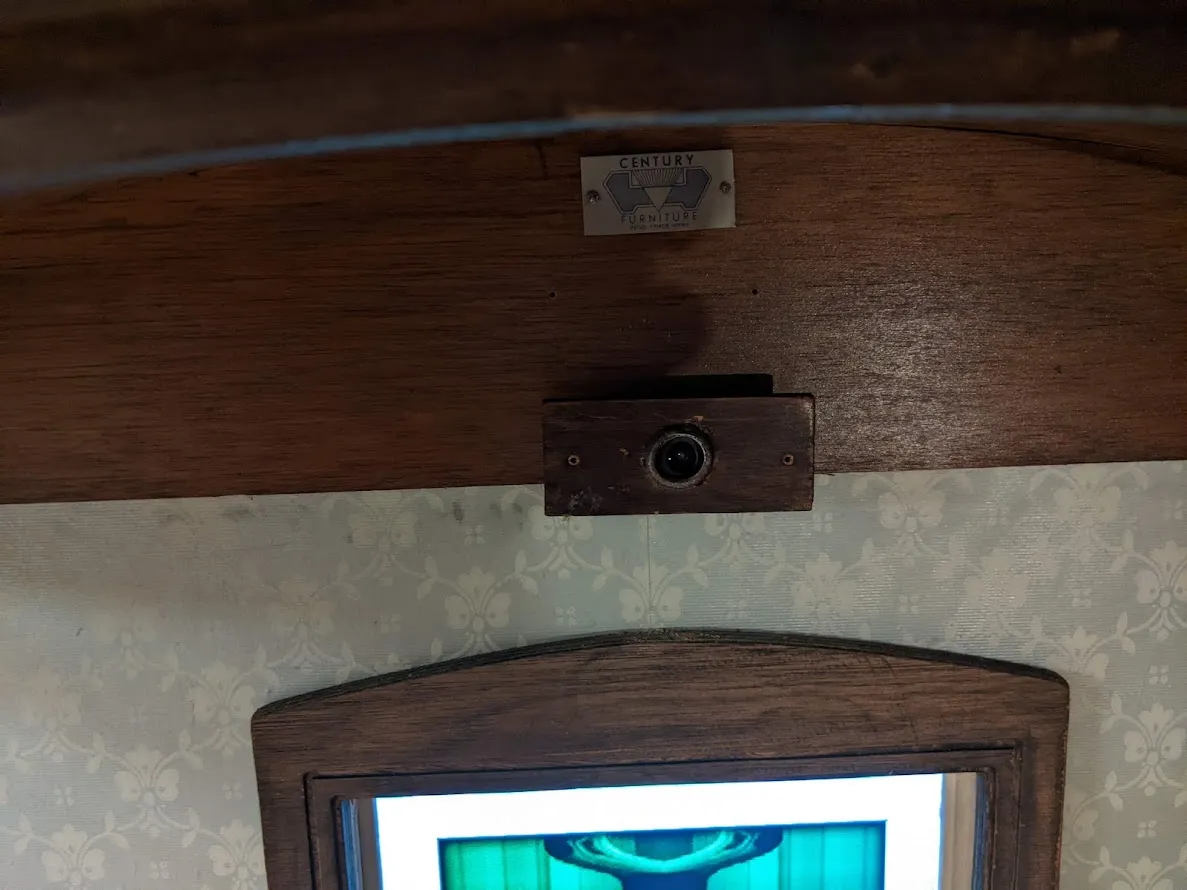
I repurposed a charity shop cabinet, discarded TV, webcam and Raspberry Pi (inexpensive mini-computer) to create the base for the cabinet.
This piece has been developed from my ongoing experiments with Javascript and “Slit Scanning” - an old film effect used to build static images from a stack of thin slices taken from each frame.
Slit Scanning
As it is explained on Wikipedia slit scanning started out as a manual artistic technique using a slit to expose thin strips onto the film.
The most comprehensive write up on slit scanning I found was compiled by the inspirational Artist Golan Levin and can be found here: http://www.flong.com/archive/texts/lists/slit_scan/ .
The web page linked above contains source code to produce the effect using a bit of software called Processing .
Another of my digital art inspirations is Dan Shiffman and his youtube channel: The Coding Train . If you want to understand slit scanning more and learn to code it yourself, his video is an excellent place to start.
Technology used
In the video above Dan explains how to create the slit scan effect using a Javascript library called p5.js . If you would like to dip a toe into the world of creative coding I can think of no better place to start than with p5.js. It has an amazing community all focused on making coding accessible and inclusive for everyone.
- I did use Javascript running in an html page to make my version, but not with p5.js this time.
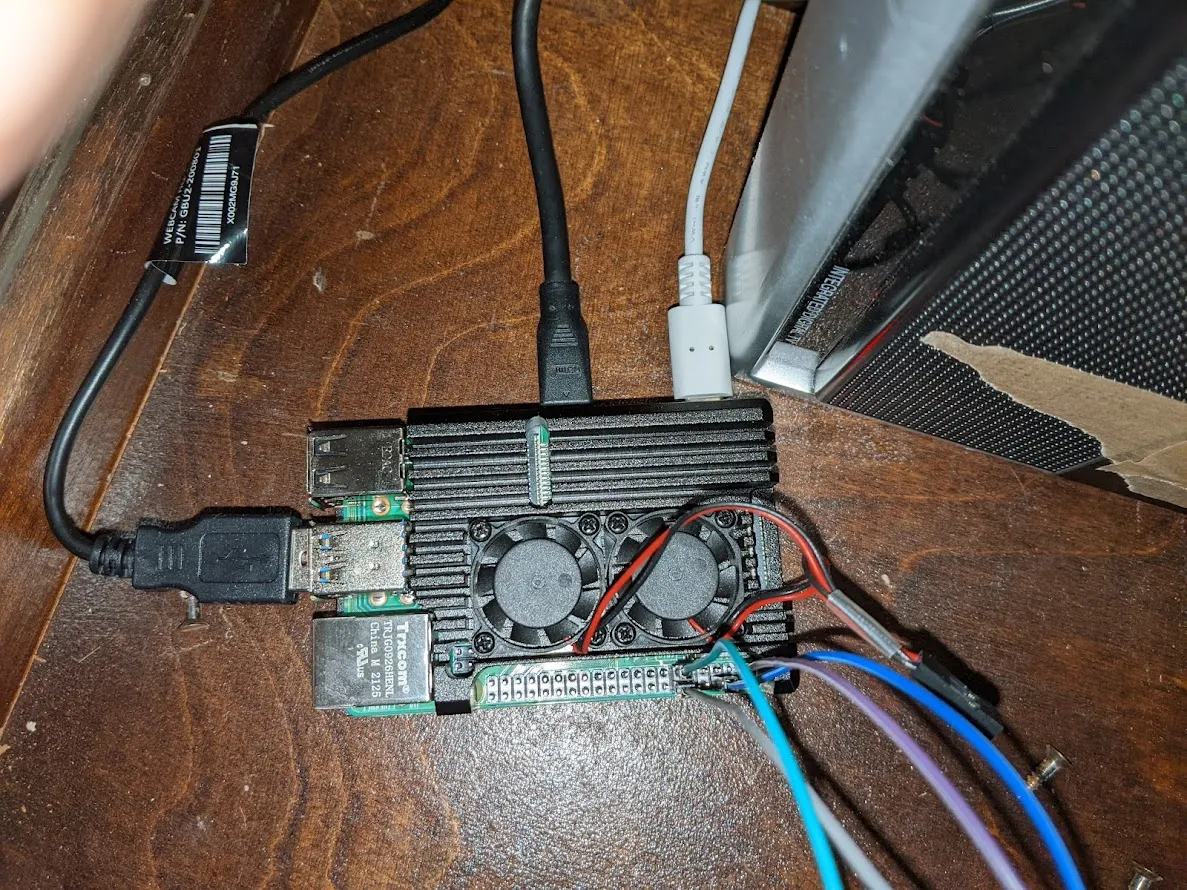
- I used a Raspberry Pi mini-computer
to run the code. The Raspberry Pi has lots of advantages:
- Allows me to add physical controls.
- Can be set up to automatically display the artwork.
- Withstands being shut off and started up by flicking the socket power switch.
- Really small, so easily hidden withing the piece.
- Relatively cheap - this one cost me £40 from Pimoron i.
- I used Electron.js To control the html page so it fills the screen without all the gumpf a browser usually shows at the top.
- To get the push and turn inputs to control
the web pages I used
Node.js and Socket.io .
- It was my first time tring to add phyical inputs like this and couldn’t be happier with how it went. Socket.io worked exactly as advertised.
Electron , Node , Socket.io and Raspberry Pi OS (the software running on the Pi to make it just like using a PC) are all amazing, free and open source software.